A "Disk Failure" error on Dell PowerEdge servers is a critical issue that can suddenly disrupt corporate data storage and business continuity. Physical disks can go offline due to normal wear and tear, mechanical failures, drive head crashes, or electronic board issues. The quick answer is: when a hardware disk failure occurs on a Dell server, you must first identify which slot and serial number has failed using iDRAC9 or OpenManage; verify that the virtual disk status on your RAID controller is 'Degraded' and backups are healthy; then source a compatible replacement disk, perform a live hot-swap replacement while the server is running, and allow the automatic rebuild process to restore redundancy.
This guide is specifically designed for:
- IT specialists managing Dell PowerEdge rack, tower, and blade servers
- Infrastructure and datacenter operations teams responsible for storage arrays (SAN/NAS)
- Systems administrators dealing with a broken RAID array due to disk failure
- Infrastructure managers wanting to execute a safe disk replacement and rebuild operation without risking data loss
Quick Summary
- Hard drive failures on Dell PowerEdge servers are physically indicated by a blinking amber or orange status LED on the disk carrier (caddy).
- The iDRAC9 interface lists the exact failed slot, disk serial number, interface type (SATA/SAS/NVMe), and full capacity specifications.
- In redundant architectures like RAID 1, 5, 6, and 10, a single drive failure does not cause data loss but drops the virtual disk status to
Degraded. - For safe replacement, take advantage of the
Hot-Swapdesign on Dell servers, allowing you to pull out the failed drive and insert the new one while the system remains fully operational. - Once the new drive is seated, the PERC (PowerEdge RAID Controller) automatically triggers the
Rebuildprocess, which can be speed-optimized through controller settings.
Table of Contents
- What are the Symptoms of a Disk Failure?
- How to Diagnose Disk Failure in the iDRAC Interface
- Evaluating RAID and Virtual Disk Status
- How to Perform a Safe Hot-Swap Disk Replacement
- Understanding the Rebuild Process and Performance Rates
- Best Practices for Preventing Data Loss
- Related Articles
- Troubleshooting Checklist
- Next Step with Leon-X
- Frequently Asked Questions
- Sources
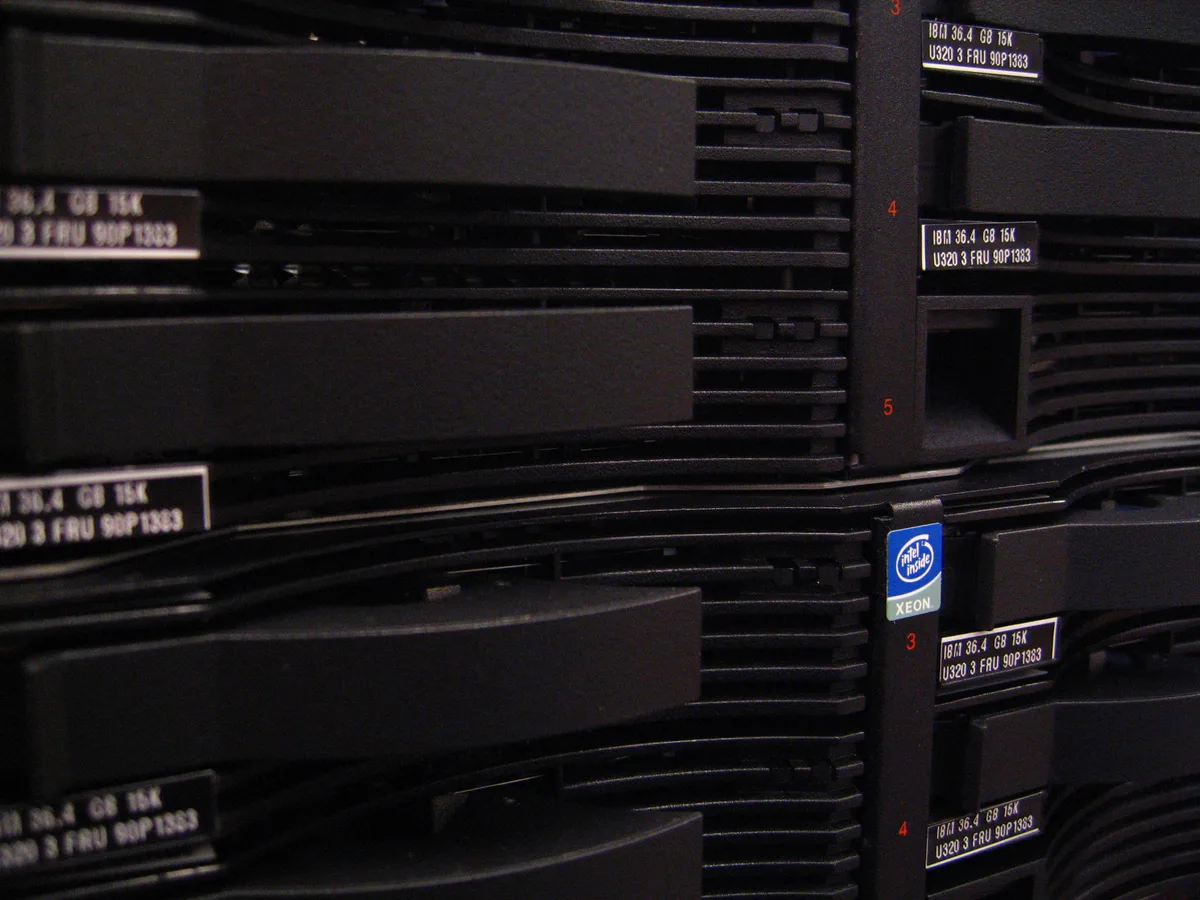
Image: Wikimedia Commons - IBM SCSI server hard drives.
What are the Symptoms of a Disk Failure?
Physical hard drive failures present themselves through various hardware indicator lights and software alerts. Regularly monitoring these statuses is key to preventing complete array failures.
1. Front Panel LED Indicators
Dell PowerEdge disk carriers (caddies) feature dual-color status LEDs that display the current operational state:
- Solid/Blinking Green: The drive is healthy and actively performing read/write operations.
- Slow Blinking Amber (Orange): A hardware drive failure has been detected; the drive needs to be replaced as soon as possible.
- Rapidly Blinking Amber and Green: Indicates a "Predictive Failure" state (the drive is reaching the end of its reliable service life) or a configuration error within the RAID utility.
- LED Off (No Light): The drive is completely dead or has lost power connections.
2. LCD Bezel Message Alerts
If your server features a front LCD informational panel, disk errors will usually stream error codes such as PDR1001 (Physical Disk Fault) or PDR1016 (Physical disk predictive failure) across the display.
How to Diagnose Disk Failure in the iDRAC Interface
Log in to the integrated Dell Remote Access Controller (iDRAC) web console to gather comprehensive telemetry on the failed physical drive.
- Access the iDRAC web console in your browser.
- Navigate to Storage > Physical Disks from the left navigation menu.
- Review the status of all connected physical drives mapped by their slot IDs (e.g., Slot 0:1:2).
- The failed drive will display a red "Failed" icon or a yellow warning symbol indicating a "Predictive Failure" or "Non-Critical Fault".
- Note the failed drive's Capacity, Media Type (SATA/SAS/SSD), Speed (10K RPM, 12 Gb/s), and Serial Number. This ensures the replacement part you order is a 100% compatible certified Dell OEM component.
Evaluating RAID and Virtual Disk Status
When a drive fails, reviewing the logical status of the Virtual Disk it belongs to is your absolute top priority.
- Degraded Status: In RAID 1, 5, 6, or 10 arrays, a single disk failure does not cause data loss but degrades redundancy. The Virtual Disk is marked
Degraded. The system remains active, but you must replace the drive promptly to restore fault tolerance. - Failed / Offline Status: In a RAID 0 array, or if multiple drives fail simultaneously in a RAID 5/6 configuration beyond the redundancy limit, the Virtual Disk drops
Offline. The operating system fails to boot, files become inaccessible, and data must be restored from backups.
How to Perform a Safe Hot-Swap Disk Replacement
Enterprise-class Dell PowerEdge servers support hot-swapping, meaning you can replace physical drives while the server is powered on and handling workloads.
Step-by-Step Hot-Swap Procedure:
- Identify the Failed Drive: Cross-reference the slot ID from iDRAC with the physical blinking amber LED on the chassis. Pulling a healthy drive by mistake can destroy your RAID array completely.
- Release the Carrier: Press the release button (usually burgundy or red) on the drive caddy to release the latch handle.
- Remove the Drive: Pull the latch handle outward and slide the carrier out of the drive slot. Wait approximately
30 secondsfor the drive platters to spin down completely before handling the drive. - Assemble the Replacement: If your replacement disk did not ship with a caddy, unscrew the failed drive from its carrier and mount the new certified disk in its place.
- Insert the New Drive: Slide the carrier into the empty bay until the latch handle clicks closed, securing the drive in place.
- Verify LED Status: Confirm that the green activity LED begins blinking and that the iDRAC web interface registers the drive status as
ReadyorRebuilding.
Understanding the Rebuild Process and Performance Rates
The PERC RAID controller should automatically detect the new drive and initiate the Rebuild process to reconstruct data and restore redundancy.
- Auto-Rebuild Initialization: By default, the PERC card automatically begins the rebuild. If it remains idle, go to the PERC utility in iDRAC and manually assign the new disk as a
Global Hot Spareto kickstart reconstruction. - Rebuild Rate Configuration: Rebuilding consumes physical disk I/O resources. You can adjust the
Rebuild Rateunder System BIOS > Device Settings > PERC Configuration Utility. The default rate is typically set between%30and%50to balance rebuild speed against host system IOPS performance.
Best Practices for Preventing Data Loss
Drives are consumable items that will eventually fail; however, experiencing data loss is a preventable management error.
- Act on Predictive Failures Immediately: A drive in a
Predictive Failurestate is still operational but has exceeded internal error thresholds. Do not leave it running; schedule a maintenance window and replace it before it goes completely offline. - Deploy a Hot Spare Drive: Leave an extra drive seated in an empty slot configured as a
Hot Spare. If an active drive fails, the PERC controller immediately drafts the spare into the array and starts rebuilding automatically. - Maintain Redundant Backups: RAID is designed for hardware uptime, not as a backup solution. It cannot protect you from ransomware, database corruption, file deletion, or physical disasters. Always enforce a robust 3-2-1 backup strategy.
Related Articles
- How to Fix a Very Slow Dell Server Disk Rebuild
- How to Fix Dell Server UEFI Boot Issues
- How to Resolve Dell Server No Boot Device Found Errors
- How to Fix Dell PERC RAID Controller Disk Foreign State Errors
- Dell PowerEdge Raid Configuration Best Practices
Troubleshooting Checklist
- Telemetry logs (SEL) and physical drive statuses verified via the iDRAC interface.
- Confirmed that the replacement disk matches the interface (SAS/SATA), capacity, and form factor specifications.
- Verified that a fresh backup of all virtual machines and file systems is on hand.
- Safely removed the failed hot-swap disk carrier and waited 30 seconds for spindle spin-down.
- Slid the replacement carrier into the bay and confirmed that the PERC controller initiated the rebuild.
- Monitored the rebuild progress in iDRAC and avoided heavy non-essential disk workloads during sync.
Next Step with Leon-X
A hardware disk failure on a Dell PowerEdge server puts your critical business operations and data integrity at risk. Performing a disk swap without validating RAID statuses and backup health can lead to accidental data loss. Based in Ankara, Leon-X provides professional Hardware & Software Solutions that handle end-to-end server deployment, procurement, and emergency technical support. Our specialized Server Maintenance & Technical Support, Server Installation, Configuration, and Commissioning, and Original Hardware Sourcing & Compatibility Checks services ensure your storage arrays and servers operate with maximum uptime and no data risk. To secure your infrastructure, source certified hardware, or request expert intervention, contact us immediately through our Contact Us page.
Frequently Asked Questions
Does a single disk failure mean my server has lost data?
In redundant arrays like RAID 1, 5, 6, or 10, a single drive failure does not cause data loss. The Virtual Disk simply degrades, and you must replace the failed drive to restore protection against future failures.
How long does a RAID rebuild take on a Dell server?
Rebuild duration depends on physical drive capacity (rebuilding a 12 TB drive takes far longer than a 300 GB drive), interface speed (SSDs rebuild much faster than mechanical SAS drives), host workloads, and the PERC rebuild rate setting. It can take anywhere from a few hours to several days.
Is it safe to replace a drive while the server is running?
Yes. Dell PowerEdge enterprise servers support Hot-Swap operations on almost all drive arrays. However, always double-check the slot ID and amber LED to ensure you do not pull a healthy drive and crash the volume.
What should I do if the rebuild doesn't start automatically?
Check the status of the new drive in iDRAC. If the drive is listed as Ready, you may need to click on it and select "Assign Global Hot Spare" within the PERC controller utility to manually assign it and trigger the rebuild.