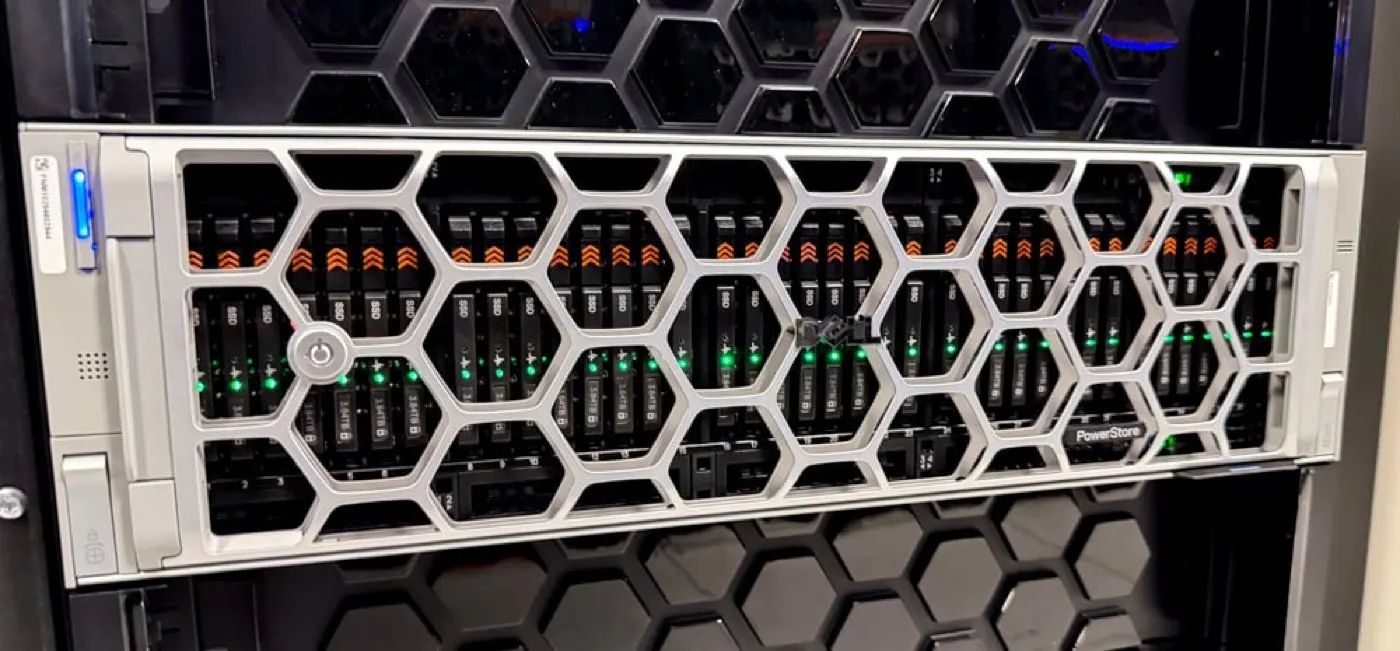
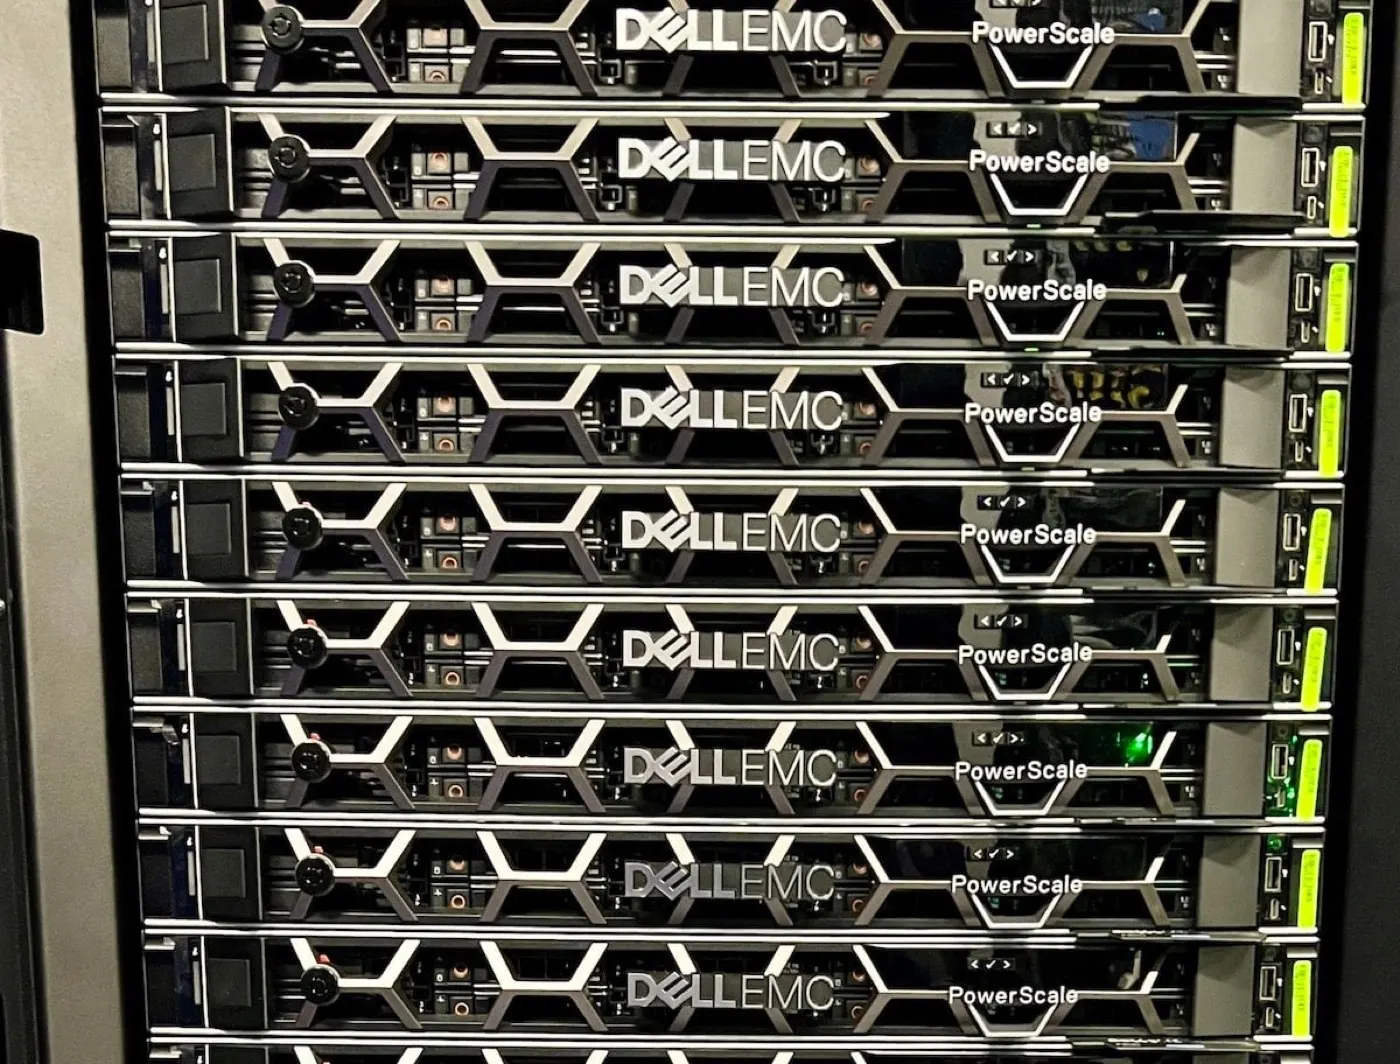
A Dell PowerScale installation guide racks scale-out NAS nodes, configures front-end and back-end networks, creates the OneFS cluster, and opens client access with SmartConnect. Short answer: plan physical install and dual networks (client + back-end); run cluster create on the first node; set root/admin passwords, encoding, NTP/DNS; join additional nodes with isi devices node add; then validate /ifs/data and /ifs/home, SmartConnect zones, and protocol services. Architecture context: What Is PowerScale?. For block SAN: PowerStore Installation.
This guide is written for:
- Storage admins commissioning a first PowerScale / OneFS cluster
- Network teams clarifying front-end and back-end Ethernet before install day
- Operations teams standardizing SmartConnect and NFS/SMB access
- IT leaders building scale-out NAS for unstructured, media, or AI data lakes
Quick Summary
- Order: planning → physical → network (ext + int) → cluster create → node join → SmartConnect → protocols → validation.
- PowerScale is a cluster, not a single-box NAS — architecture guide.
- Front-end (client): ext-1 etc.; back-end: node-to-node (Ethernet preferred; legacy IB possible).
- Dell Best Practices: install creates
/ifs/data,/ifs/home,/ifs/.ifsvar; add nodes as capacity approaches ~90%. - Node add:
isi devices node list→isi devices node add <serial>. - Management: WebUI, SSH/CLI, Platform API (PAPI).
- Block choice PowerMax/PowerStore: PowerMax vs PowerStore.
Table of Contents
- Pre-Install Checklist
- Step 1: Physical Installation
- Step 2: Front-End and Back-End Networking
- Step 3: Cluster Create (First Node)
- Step 4: Adding Nodes
- Step 5: SmartConnect and Protocols
- Step 6: Validation
- Common Mistakes
- Checklist
- Next Step with Leon-X
- Frequently Asked Questions
- Sources
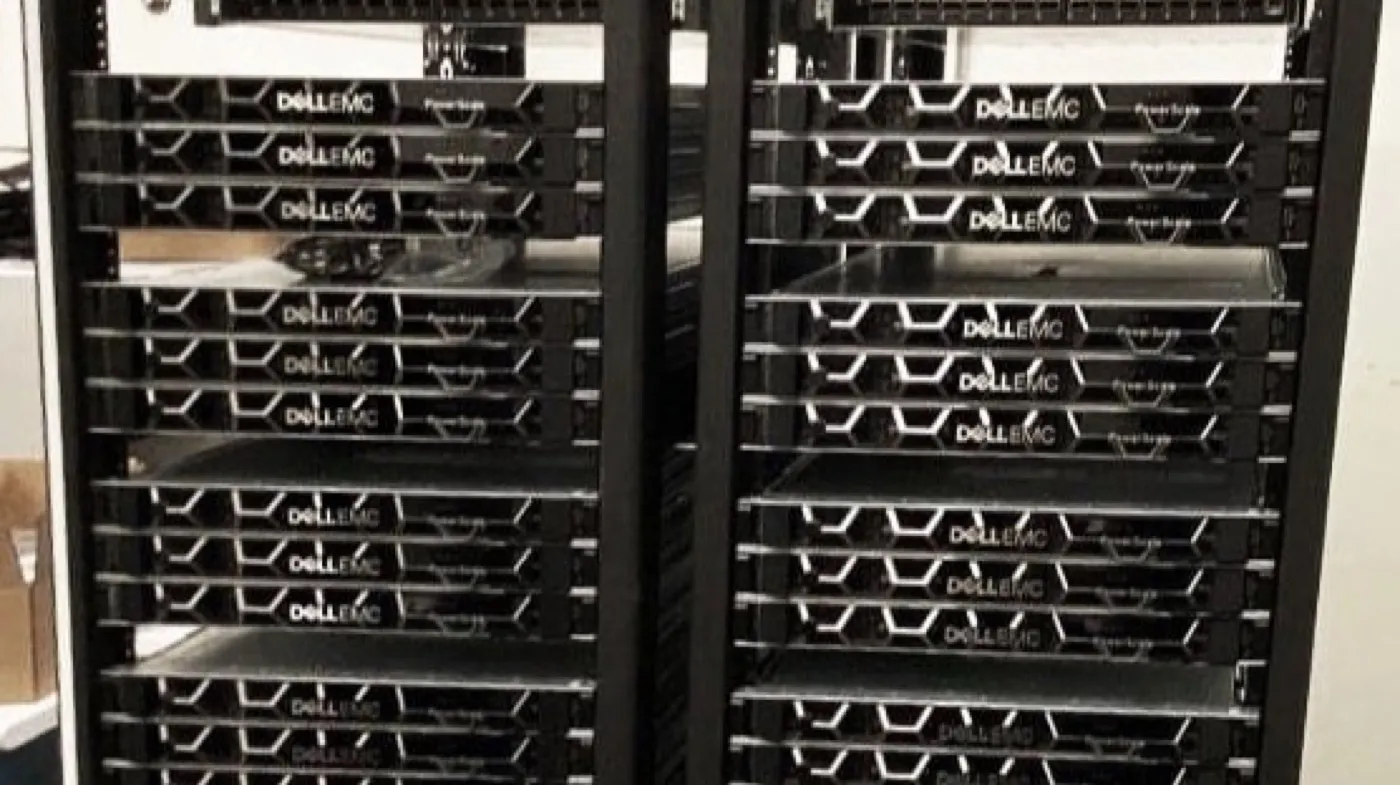
Image: StorageReview - Dell EMC PowerScale Cluster (PowerScale node cluster).
Pre-Install Checklist
| Area | Preparation |
|---|---|
| Node count / type | F/H/A series; OneFS compatibility matrix |
| Rack / PDU / cooling | U height, redundant power, airflow |
| Front-end VLAN/IP | Client subnet, SmartConnect SSIP, DNS |
| Back-end network | Supported switch; Dell prefers no patch panel |
| NTP / DNS | Cluster time and name resolution |
| License / Support | Dell Support, Secure Remote Services plan |
Short definition: PowerScale step-by-step installation is a repeatable scale-out NAS commissioning flow from physical mount through OneFS cluster create, node join, and SmartConnect client access.
Step 1: Physical Installation
- Rack the nodes; mind weight and airflow direction.
- Connect PSUs on each node to separate PDU/phases.
- Split front-end and back-end ports onto the correct switches (do not mix client and internode traffic).
- Dell large-cluster guidance: avoid patch panels on the back-end when possible; connect to supported switches directly.
- On first power-on, check LEDs/status; have serial console or management access ready.
Heterogeneous nodes (mixed generation/capacity) are possible, but Best Practices favor simplicity — start the first cluster with the same node class when you can.
Step 2: Front-End and Back-End Networking
| Network | Role | Typical settings |
|---|---|---|
| Front-end (ext) | NFS/SMB/S3 client access | VLAN, gateway, SmartConnect pool |
| Back-end (int) | Node-to-node OneFS traffic | Separate fabric; low latency |
| Management | SSH / WebUI | Trusted management subnet |
Ethernet is the preferred back-end for large clusters; InfiniBand may still appear for legacy Isilon compatibility (Dell Info Hub). Cable distance (MMF) affects row-to-row / building plans — keep a physical location inventory.
Pro Tip: Reserve the SmartConnect IP (SSIP) and DNS delegation before cluster create; changing zones later risks client disruption.
Step 3: Cluster Create (First Node)
On the first node, use serial console or SSH for the OneFS configuration wizard:
- Set root and UI admin passwords
- Cluster name and character encoding (default UTF-8)
- Front-end (ext-1) IP, netmask, gateway
- Back-end (int) interface settings
- NTP / DNS servers
- ESRS / Support Assist preference (usually plan to enable in production)
- Review and confirm the configuration
After install, OneFS creates under the root (Best Practices):
/ifs/data— shared data/ifs/home— user homes/ifs/.ifsvar— system
Do not export /ifs root to clients; plan application data under /ifs/data/....
Management: WebUI (easy), CLI (comprehensive), PAPI (automation).
Step 4: Adding Nodes
Before joining a new node:
- Confirm a free back-end IP is available
- Check OneFS version compatibility via the Supportability Guide (a different-version node may be brought to the cluster version)
isi devices node list
isi devices node add <serial-number>
Example: isi devices node add 43252
After join, validate node health, disk status, and capacity in WebUI/CLI.
Step 5: SmartConnect and Protocols
- SmartConnect zone / pool: point client DNS at the SSIP
- Create NFS exports or SMB shares (
/ifs/data/...) - Apply auth: AD/LDAP/local as planned
- Open Snapshot / SyncIQ / SmartQuotas in a later phase (keep install day minimal)
- Monitoring: alert email / SNMP / Secure Remote Services
File vs block: PowerScale is unstructured NAS; for block mission-critical use PowerMax or PowerStore.
Step 6: Validation
- All nodes Online / Healthy
- Front-end and back-end links up
- SmartConnect DNS resolves correctly
- NFS/SMB test mount succeeds
- NTP in sync
- Capacity dashboard; growth plan for the ~90% threshold
- Config backup / cluster config export
- Support / ESRS access tested
Common Mistakes
- Merging front-end and back-end on the same VLAN
- Treating a single node as a “cluster” (plan multi-node for protection/scale)
- Sharing
/ifsroot directly - Skipping SmartConnect DNS and hard-coding a single node IP
- Joining a OneFS-mismatched node without a compatibility plan
- Extending the back-end via patch panels past latency/cable limits
- Filling capacity past ~90% before adding nodes (Dell warning)
Checklist
- Worksheet filled: IPs, DNS, SSIP, NTP.
- Rack, PDU, rails complete.
- Front-end / back-end switch ports separated.
- Cluster create done; passwords changed.
- Target node count joined.
-
/ifs/datadirectory plan written. - SmartConnect + test mount OK.
- Alert / Support channel open.
- Config export taken.
- Growth (extra node) trigger defined.
Next Step with Leon-X
Leon-X runs PowerScale installs end-to-end via NAS/SAN Storage Installation and Configuration: network plan, OneFS cluster create, SmartConnect, and protocol hardening. For discovery: Contact Us.
Frequently Asked Questions
How many nodes does a PowerScale install need?
Production plans multi-node clusters for protection and performance; minimum and protection level depend on model/OneFS policy. A single-node “trial” is not a production cluster.
Is SmartConnect mandatory?
Not mandatory, but it is Best Practice so clients use one DNS name with load distribution. Binding to a single node IP is fragile when nodes fail or are added.
What is the difference between front-end and back-end?
Front-end is client (NFS/SMB) traffic; back-end is OneFS internode cluster communication. Separate switches/VLANs are recommended.
What if OneFS versions differ when adding a node?
Dell: if compatible, the system can align the node to the cluster version. Check the Supportability and Compatibility Guide first.
Does PowerScale replace PowerStore?
No. PowerScale is scale-out NAS (file); PowerStore is primarily a block/unified appliance. Choose by workload — PowerMax vs PowerStore for block; PowerScale for file/unstructured.