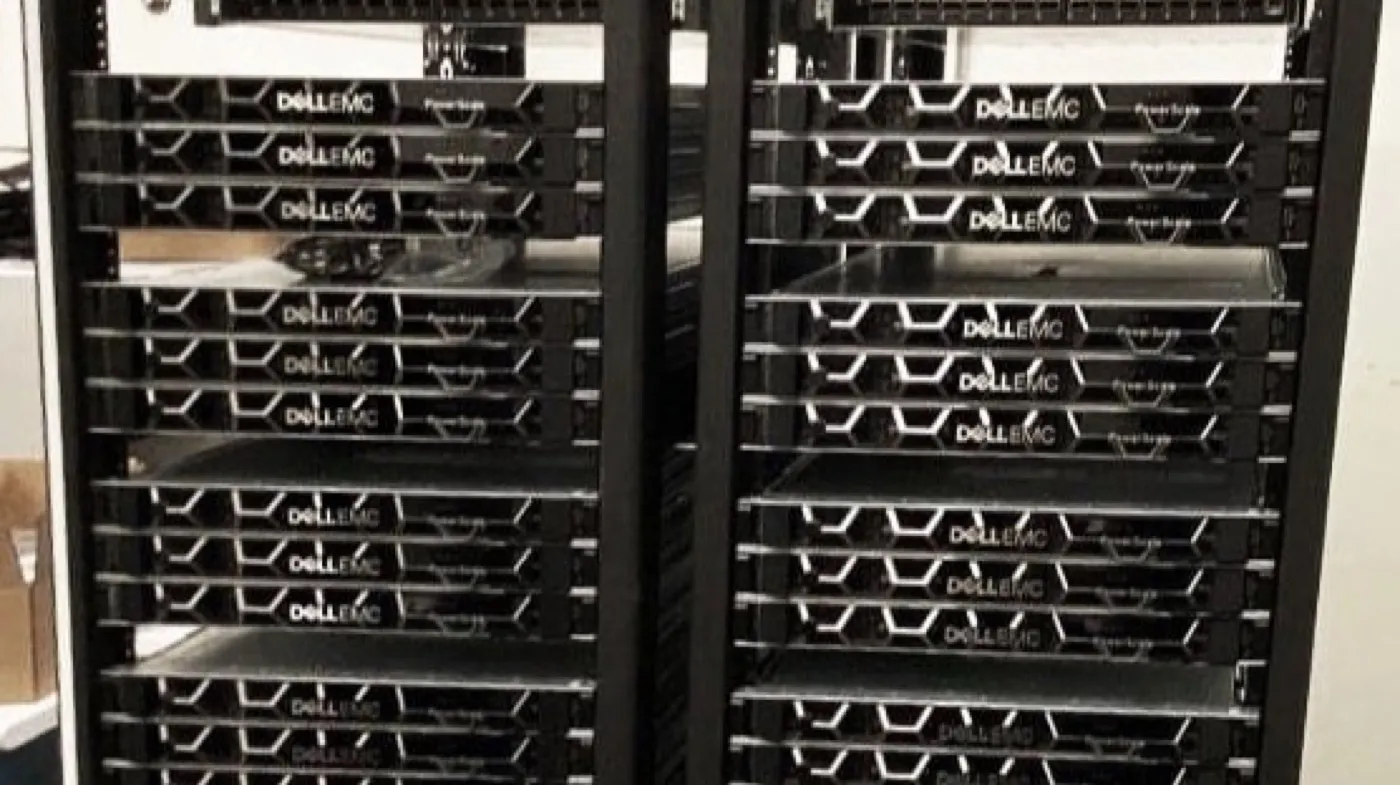
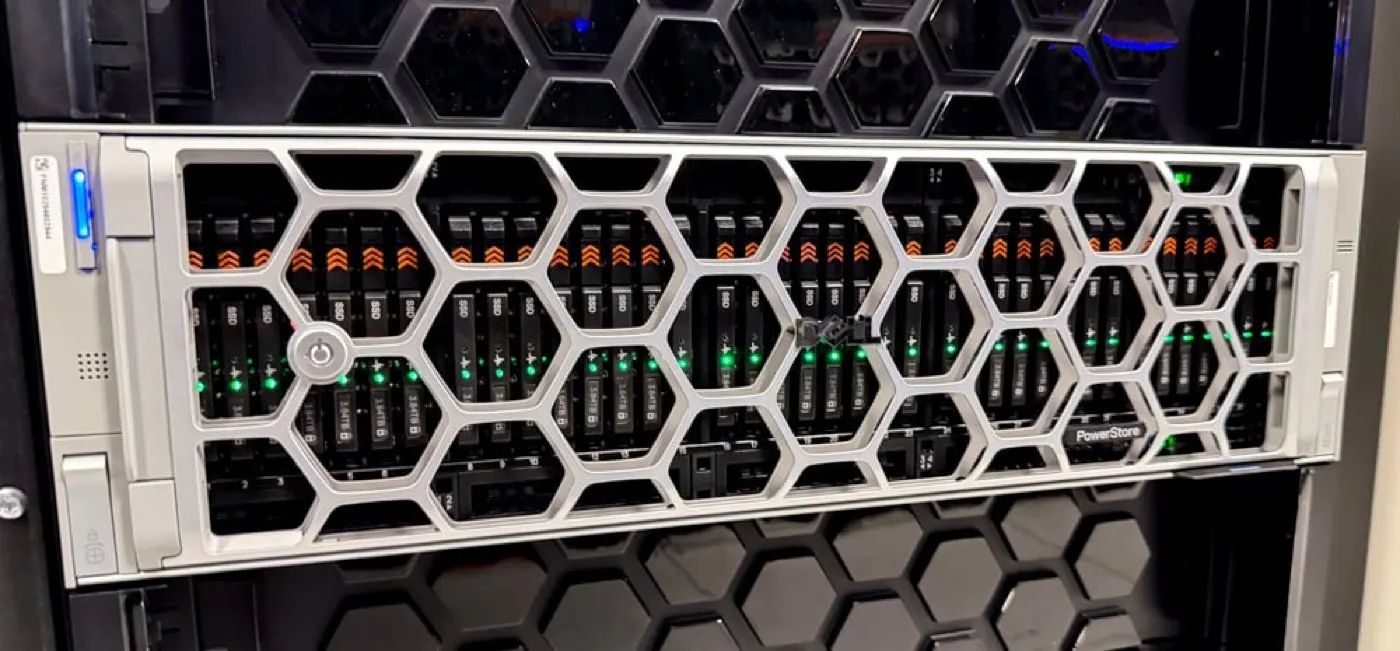
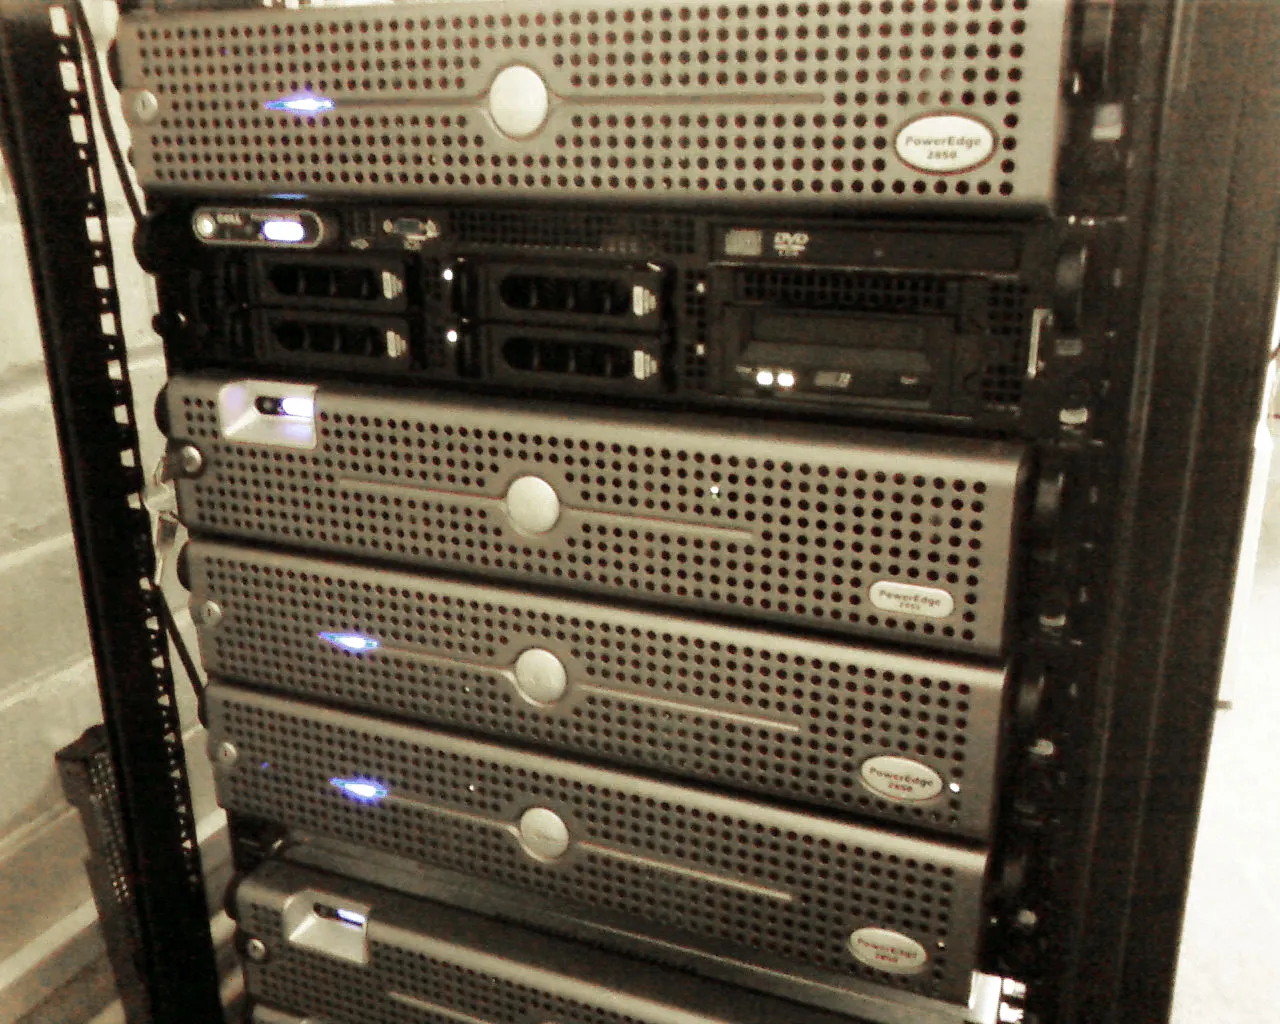
A Dell PowerEdge Server installation guide takes a new server from unboxing to production through racking, iDRAC, RAID, firmware, and the OS—in that order. Short answer: physical install and the iDRAC network first, then Lifecycle Controller for firmware/RAID, then the OS—“image Windows onto disk and fix later” leaves management and firmware gaps. Architecture context: What Is PowerEdge?.
This guide is written for:
- Systems admins commissioning PowerEdge for the first time
- Infrastructure teams doing rack or branch-office builds
- Ops teams standardizing installs with iDRAC and Lifecycle Controller
- Teams combining install day with an ISO 27001 / secure baseline
Quick Summary
- Order: physical → iDRAC → firmware → RAID → OS → hardening.
- Do not put iDRAC on the data VLAN—use a separate management network.
- Align BIOS/iDRAC/PERC via Lifecycle Controller before the OS.
- Separating boot (BOSS/M.2) from data RAID is good practice.
- RAID: Best Practices.
- Security: ISO 27001 PowerEdge, iDRAC Security.
Table of Contents
- Pre-Install Checklist
- Step 1: Physical Installation
- Step 2: Initial iDRAC Configuration
- Step 3: Firmware and Lifecycle Controller
- Step 4: RAID / Disk Configuration
- Step 5: Basic BIOS Settings
- Step 6: Operating System Installation
- Step 7: First Hardening and Validation
- Most Common Mistakes
- Related Articles
- Checklist
- Next Step with Leon-X
- Frequently Asked Questions
- Sources
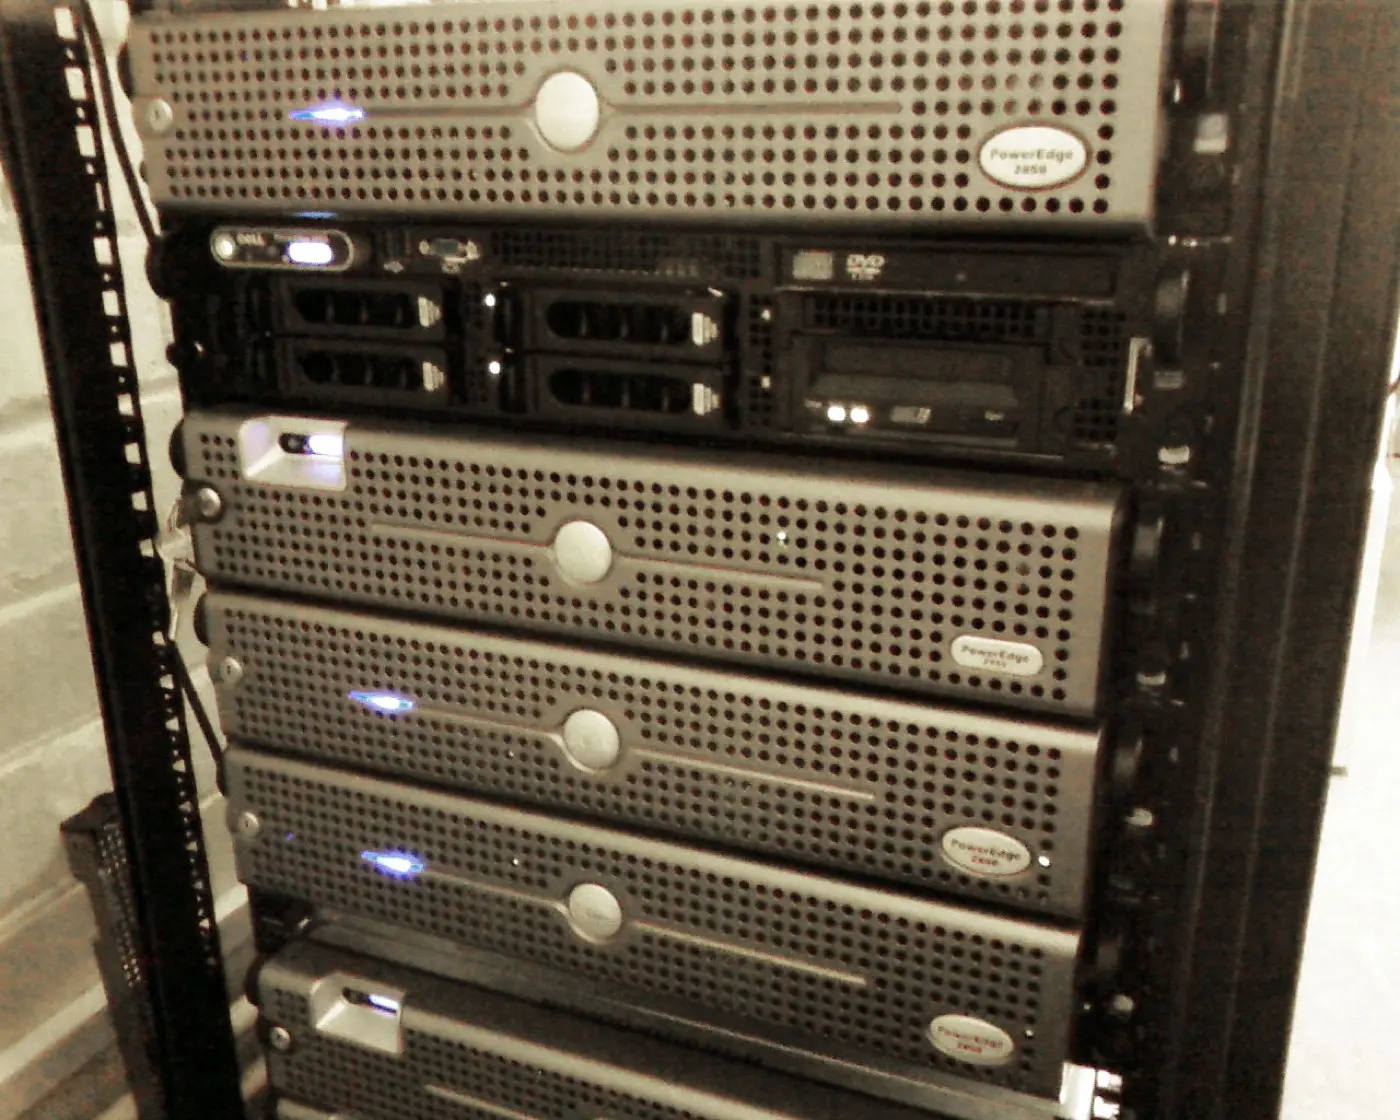
Image: Wikimedia Commons - Dell PowerEdge 2950 (example rack PowerEdge install form factor).
Pre-Install Checklist
- Model / Service Tag and warranty verified
- Rack U, rails, PDU / UPS capacity confirmed
- iDRAC IP plan ready (separate mgmt VLAN)
- OS media / ISO and licenses ready
- Target RAID level and disk inventory written down
- Firmware baseline planned (Dell Repository / SUU / iDRAC)
Short definition:
PowerEdge step-by-step installation is a repeatable Lifecycle Controller–centered commissioning path from physical mount through iDRAC, firmware, RAID, and OS.
Step 1: Physical Installation
- Mount with the rail kit; watch weight distribution.
- Plug PSUs into separate PDUs/phases (
1+1redundancy). - Connect data NICs and the iDRAC port to separate switches/VLANs.
- Prepare local console (VGA/USB) or iDRAC Virtual Console.
- On first power-on, watch POST / fault LEDs.
If it will not boot: Boot Failure, BIOS Boot Loop.
Step 2: Initial iDRAC Configuration
- Connect via F2 System Setup or the default iDRAC IP.
- Set static IP, hostname, DNS, timezone.
- Change the default password; harden the local admin.
- Restrict management access with trusted hosts / VPN / jump host.
- Define email / SNMP / syslog targets if used.
Issues: iDRAC Not Responding, iDRAC Reset. Security: iDRAC ISO 27001.
Pro Tip: Do not leave iDRAC on temporary “any” access on day one. Write the mgmt ACL immediately.
Step 3: Firmware and Lifecycle Controller
Before the OS:
- Enter Lifecycle Controller (F10)
- Update platform firmware (BIOS, iDRAC, PERC, NIC, backplane)
- Prefer a consistent Dell Catalog / Repository Manager package
- After updates, soft/cold reboot and check health
Interrupted updates can cause boot loops—do not skip the order.
Step 4: RAID / Disk Configuration
- See disks in PERC BIOS or iDRAC Storage
- If foreign config appears, decide import vs clear carefully — Foreign State
- BOSS/M.2 (or small RAID1) for OS boot; separate VD for data
- RAID level: RAID10 often for DB; RAID6 for capacity — RAID Best Practices
- Disk types: SAS vs SATA vs NVMe, NVMe Setup
If disks are missing: RAID Disk Detect.
Step 5: Basic BIOS Settings
Practical minimum in Lifecycle / System Setup:
- Boot Mode: UEFI (modern OS)
- Secure Boot: per policy (On if the image supports it)
- Virtualization: VT-x/AMD-V, VT-d (for hypervisors)
- System Profile: Performance Per Watt or Performance (by workload)
- Embedded SATA / Boot Sequence: correct boot device order
Power profiles: Power Consumption.
Step 6: Operating System Installation
- Lifecycle Controller → OS Deployment or iDRAC Virtual Media
- Use Dell’s recommended driver/firmware pack (especially PERC)
- Do not format the data VD by mistake
- Finish hostname, IP, domain join / hypervisor setup
- Plan OpenManage / OMSA or iDRAC Service Module
Step 7: First Hardening and Validation
| Check | Target |
|---|---|
| iDRAC access | Mgmt only; no default password |
| Firmware | BIOS/iDRAC/PERC on one baseline |
| RAID | VD healthy; BBU/CacheVault OK |
| Logs | iDRAC/SEL → syslog (for ISO) |
| NTP | Offset <1–2 s |
| Backup | Config/iDRAC settings exported |
ISO/audit: PowerEdge Audit Log, ISO PowerEdge Configuration.
Most Common Mistakes
- Putting iDRAC on the data network and the internet
- Leaving firmware until after the OS
- Mixing OS + data on one VD
- Clearing foreign config without thought
- Leaving Secure Boot/UEFI mismatched to the image
- Plugging both PSUs into one PDU and calling it redundant
Related Articles
- What Is a Dell PowerEdge Server? Architecture Guide
- RAID Configuration Best Practices
- iDRAC Security for ISO 27001
- ISO 27001 PowerEdge Configuration
- Boot Failure
- SAS vs SATA vs NVMe
- Power Consumption
- iDRAC Not Responding
Checklist
- Rack, PSU redundancy, cabling done.
- iDRAC on a separate VLAN; password changed.
- BIOS/iDRAC/PERC firmware baseline applied.
- Boot and data VDs separated; RAID healthy.
- UEFI boot order correct.
- OS + drivers installed.
- iDRAC log/syslog and NTP configured.
- Config export / documentation archived.
- Mgmt ACL tested.
Next Step with Leon-X
PowerEdge install needs a repeatable baseline. Leon-X standardizes iDRAC, RAID, and OS layers under Server Installation, Configuration and Commissioning and High Availability Server Infrastructure. Start at Contact.
Frequently Asked Questions
What order should PowerEdge installation follow?
Physical → iDRAC → firmware → RAID → BIOS → OS → hardening. Putting the OS first increases firmware risk.
Is Lifecycle Controller required?
Not strictly, but it is the cleanest path for drivers/firmware and OS deployment.
Is iDRAC Express enough?
For basic monitoring, yes; Virtual Console / advanced features need Enterprise (or model-equivalent) licensing.
Can I create RAID inside the OS?
With hardware PERC, creating VDs via Lifecycle/iDRAC is preferred; HBA/SDS is a different path.
What is the first security step after install?
Put iDRAC on the mgmt network, change the default password, and lock the firmware baseline.